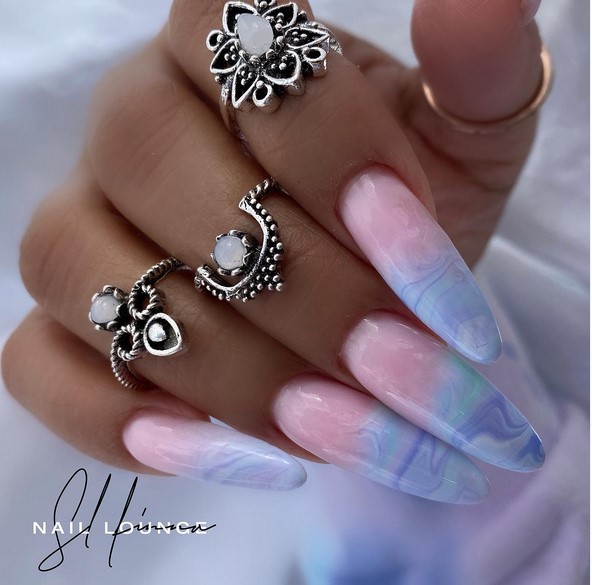
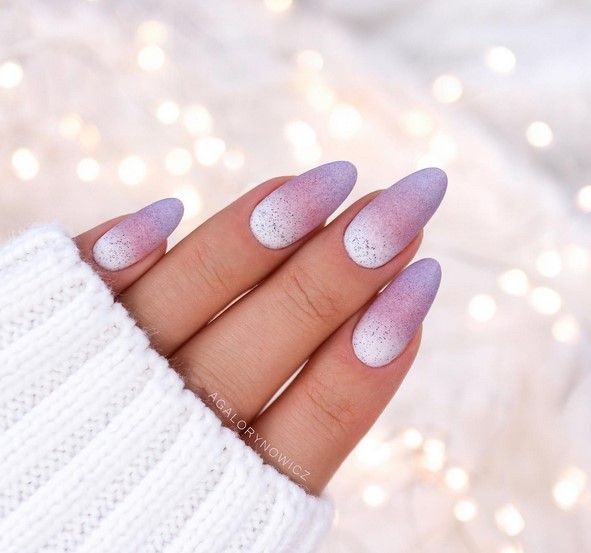
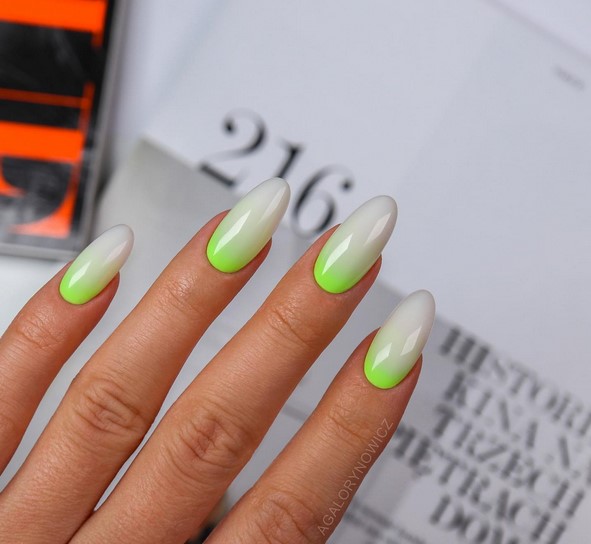
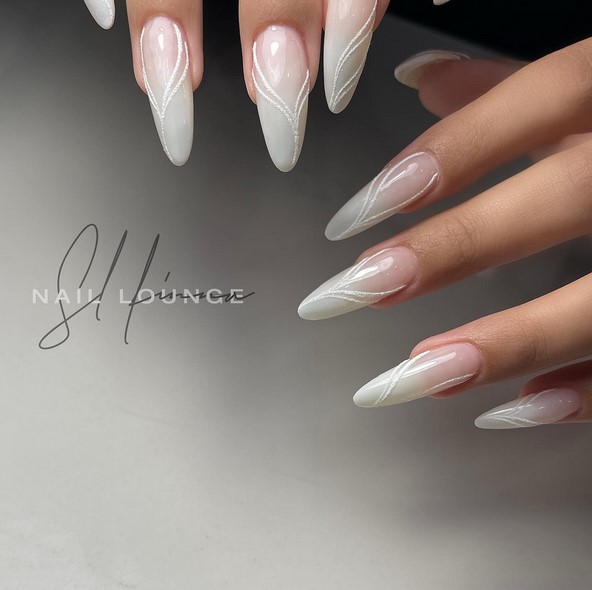
Planning on doing your nails and wanna try ombre? If you’re interested in trying out an ombre manicure, this guide will show you everything you need to know, from how to choose your colors to how to create the perfect gradient effect. So let’s get started:
Table of Contents
What are Ombre nails?
Ombre nails are a type of manicure that has been growing in popularity in recent years. The word “ombre” comes from the French word meaning “shadow” or “shade”. An ombre manicure is created by using two or more colors of polish, with the colors gradually getting lighter or darker from one nail to the next.
Ombre nails can be created using any combination of colors, but the most popular versions tend to use either light and dark shades of the same color (e.g. pale pink and deep pink), or light and dark shades of complementary colors (e.g. light blue and orange).
The Ombre Dip, also known as the French Fade or Baby Boomer Nails, is a new twist on the classic French Manicure. This style represents a softer mood and is achieved by using the Ombre technique. Nails are coated with an adhesive, then a very fine powder is poured over the nails which contains the color. For pink and white, the colors of dip used are the natural pinks or clear, and white powder for the tips.
Are Ombre nails gel or acrylic?
Ombre nails are a type of nail art that has been growing in popularity in recent years. There are many different ways to achieve the ombre look, but the most common method is to use gel or acrylic nails.
Gel nails are made from a gel that is cured under UV light. This type of nail is very strong and can last up to two weeks without chipping.
Acrylic nails are made from a powder that is mixed with a liquid and then applied to the nail. Acrylic nails are not as strong as gel nails, but they are much easier to remove.
So, which is better for ombre nails – gel or acrylic? It really depends on your personal preference. If you want your ombre nails to last longer, then gel is the way to go. However, if you want something that is easier to remove, then acrylic is the better option.
What color go together for ombre nails?
Ombre is a trendy manicure technique that results in a beautiful, gradient effect that can be customized to suit your personal style. Plus, it’s a relatively simple nail art look to achieve.
If you’re considering trying out ombre nails, you may be wondering what colors go well together. There are endless possibilities when it comes to ombre nails, but here are a few ombre nails color combinations to get you started: Pink and purple, black and red, nude and white, pink and blue, white and purple, pink and white, blue and green ombre nails, yellow and orange, red and pink ombre nails, and silver and gold. No matter what colors you choose, ombre nails are sure to add a touch of style to your manicure.
How to create ombre nails?
Ombre nails are a type of manicure that involves creating a gradient effect. The nails are typically painted in two or more colors, with the colors getting lighter or darker as they go from one nail to the next.
Ombre nails can be created with any type of polish, including gel, acrylic, and regular polish. They can also be embellished with glitter, rhinestones, or other decorations.
If you’re interested in trying ombre nails, there are a few things you’ll need to do to get started.
First, you’ll need to choose the colors you want to use. You can either use similar colors or contrasting colors.
Next, you’ll need to decide on the order of the colors. You can either start with the lightest color on all of the nails and then gradually add the darker colors, or you can start with the darkest color on one nail and then work your way up. Once you have the colors and order decided, you’ll need to paint your nails.
To get a smooth gradient effect, it’s best to use a sponge or a makeup brush. Dip the sponge or brush into the first color and then lightly dab it onto the nails. Repeat this process with the other colors, gradually getting lighter or darker as you go.
Once you’re finished, seal the nails with a top coat of polish. Ombre nails are a fun and creative way to wear polish. They can be simple or elaborate, depending on your preference. With a little practice, you can easily create ombre nails that are perfect for any occasion.
Stylish Ombre Nail Designs
Ombre design is created either with single color or multiple colors depending on how you want your design. Below we are sharing the most common single and multi-color ombre designs.
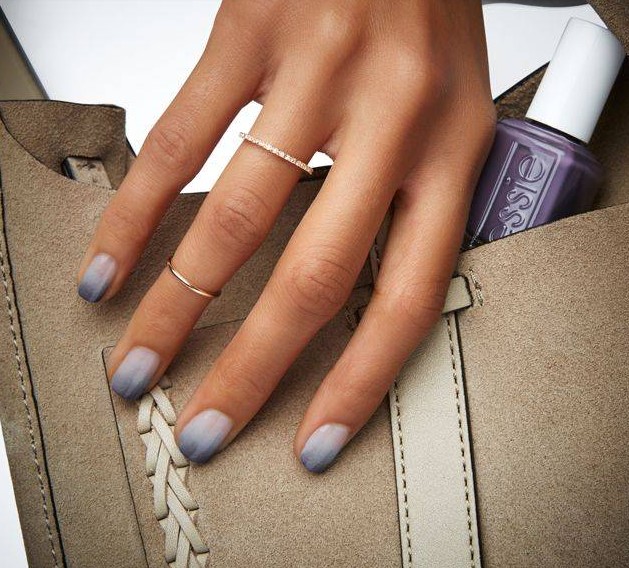
Grey ombre nails
A grey ombre is a great way to add a little bit of dimension and interest to your nails. Grey ombre nails are a chic and easy way to add some style to your manicure.
Pink ombre nails
There’s something about pink ombre nails that just screams summertime. Whether you’re rocking a baby pink shade or a hot pink hue, these nails are sure to turn heads. Pink ombre nails can be achieved by painting your nails a solid color and then using a sponge to gradient the color from light to dark. Or, you can use tape to create sharp lines and then paint over top with your desired colors. Either way, you’re sure to have a trendy and chic manicure.
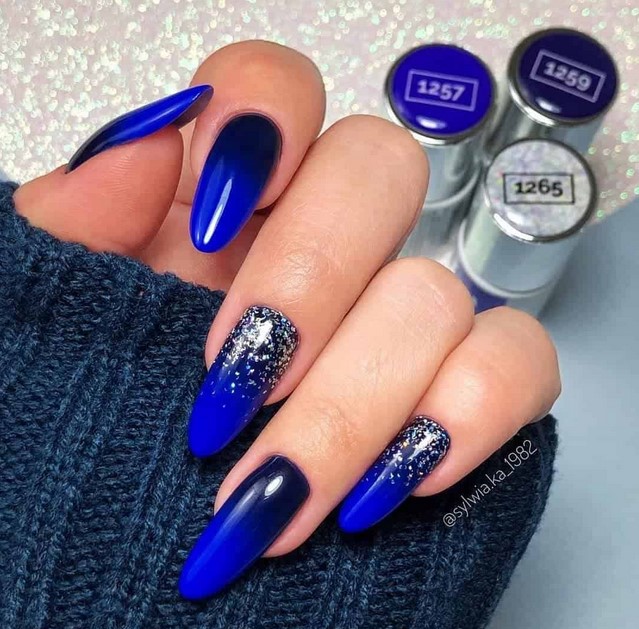
Blue ombre nails
Ombre nails are all the rage these days, and what better way to show off your trendsetting style than with blue ombre nails? This look is easy to achieve with a little bit of patience and the right tools. First, start with a base coat of your favorite blue nail polish. Once that has dried, use a makeup sponge to apply a lighter shade of blue polish to the tips of your nails. Make sure to blend the colors together well so that there is a seamless gradient effect. Finally, top it off with a clear top coat and you’re good to go!
White ombre nails
White ombre nails are a beautiful and unique way to wear your nails. They are perfect for any occasion, and will definitely make you stand out from the crowd.
Red ombre nails
Red ombre nails are a fun and festive way to show off your holiday spirit! They are also a great way to add a pop of color to your look. To get the perfect red ombre nails, start with a base coat of red polish. Then, use a sponge to apply a lighter shade of red polish to the tips of your nails. Finish off with a top coat of clear polish to seal in the color.
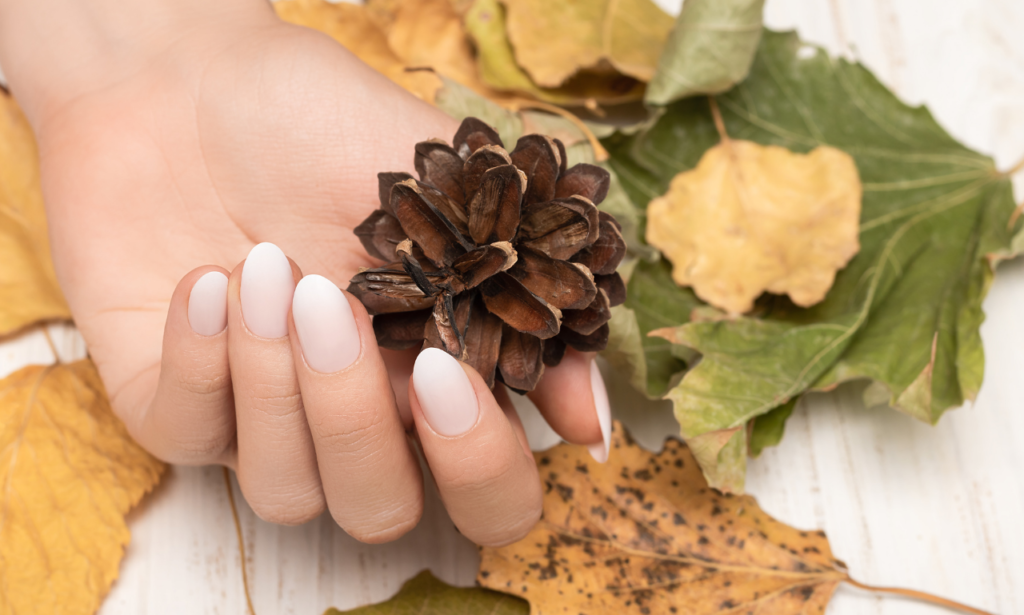
Nude ombre nails
Nude tones are versatile and elegant. This style is perfect for any occasion where you want to appear polished. Neutrals are a key all-seasons trend, and nude manicure reflects that. These nails are chic and modern, and they will go with a variety of looks.
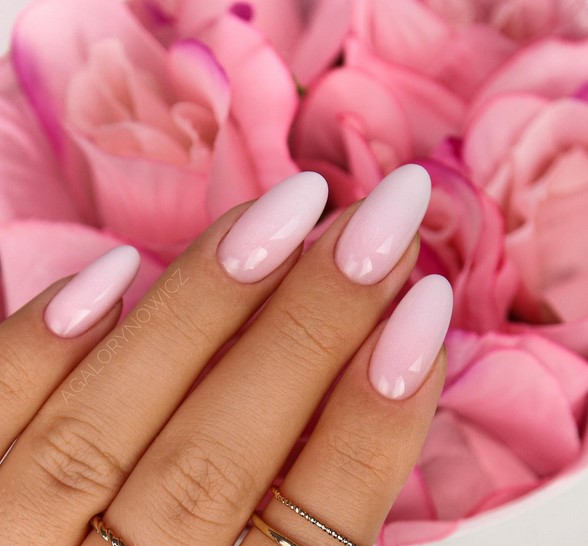
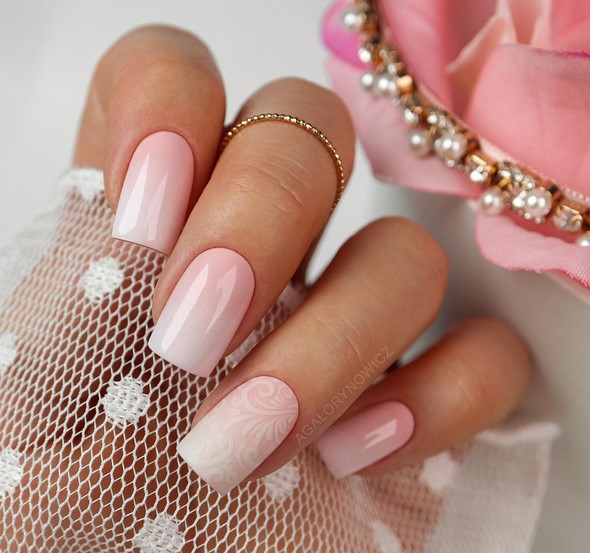
Pink and white ombre nails
Pink and white ombre nails are a beautiful and feminine way to show off your style. The colors blend together perfectly and create a look that is both sophisticated and playful. Whether you are dressing up for a special occasion or just want to add a little bit of flair to your everyday look, pink and white ombre nails are a great choice.
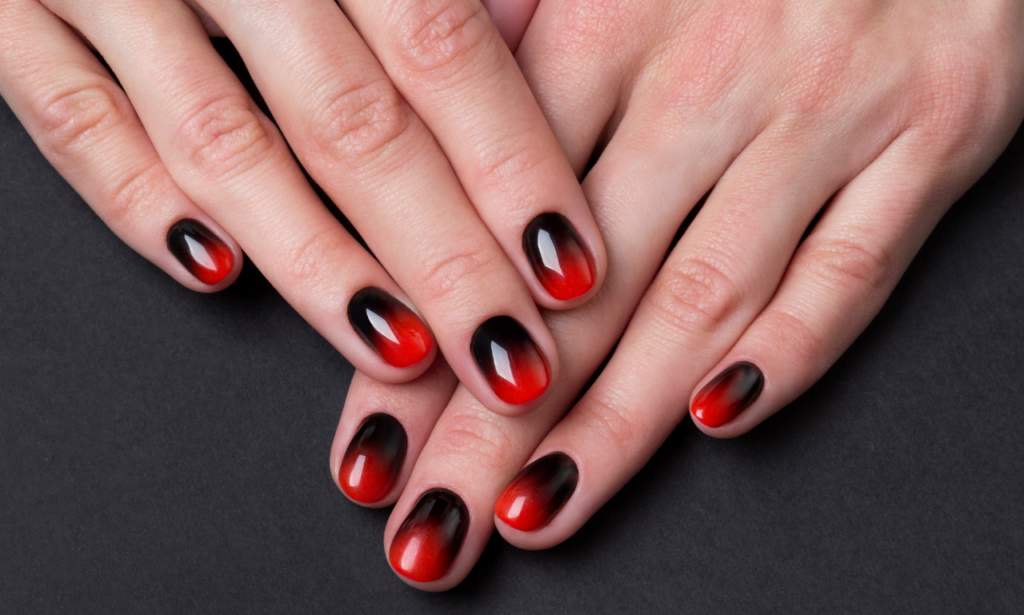
Red and black ombre nails
If you’re looking for a bold and dramatic nail look, then you can’t go wrong with red and black ombre nails.
Pink and blue ombre nails
Pink and blue ombre nails are a fun and flirty way to add a little color to your nails. The best thing about this look is that it is easy to achieve and there are endless possibilities when it comes to colors and designs. To get the perfect ombre look, start with a light pink polish and then slowly add a darker shade of pink until you reach the desired color. Then, use a blue polish to create the ombre effect. You can either use a sponge to apply the polish or you can use a brush to create a more gradient look.
Purple and white ombre nails
There is something about purple and white nails that just screams summertime. Maybe it’s the way the colors compliment each other, or maybe it’s the way they make your nails look extra long and glamorous. Whatever the reason, this is one of our favorite color combinations for nails. Purple and white are complimentary colors that are associated with royalty, femininity and spirituality.
Neon ombre nails
Neon nails are all the rage these days. They are bright, colorful, and fun. They can be worn any time of year, but are especially popular in the summertime. Neon nails are sure to make a statement and will definitely turn heads.
French ombre nails
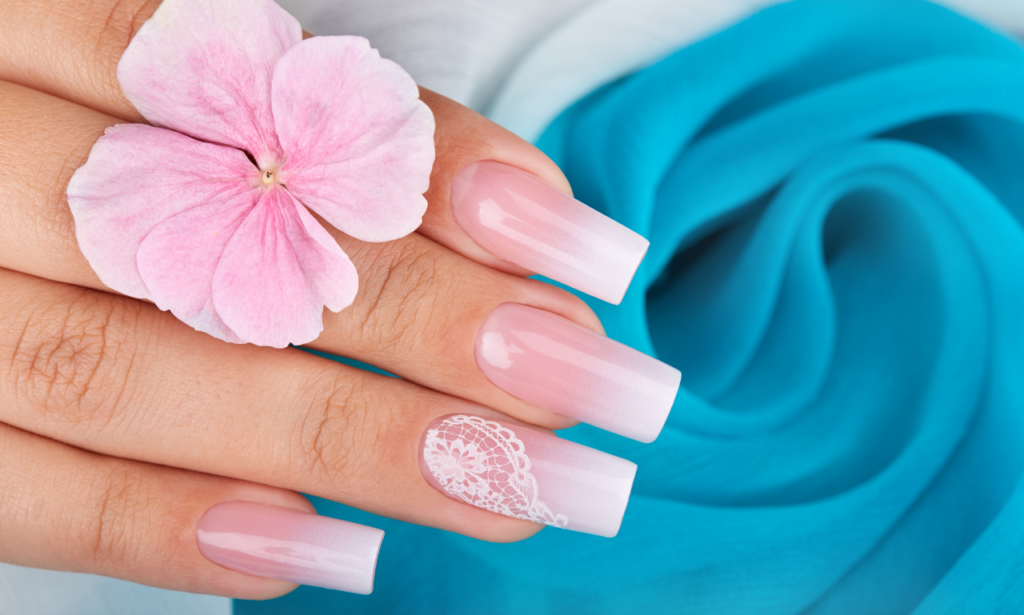
French nails are one of the most popular nail designs among women. They are elegant and classic, and can be worn for any occasion. French ombre nails are usually made with a white tip, but can also be made with other colors. French ombre nails are typically made with a gel or acrylic, and can be decorated with beads, rhinestones, or other nail art.
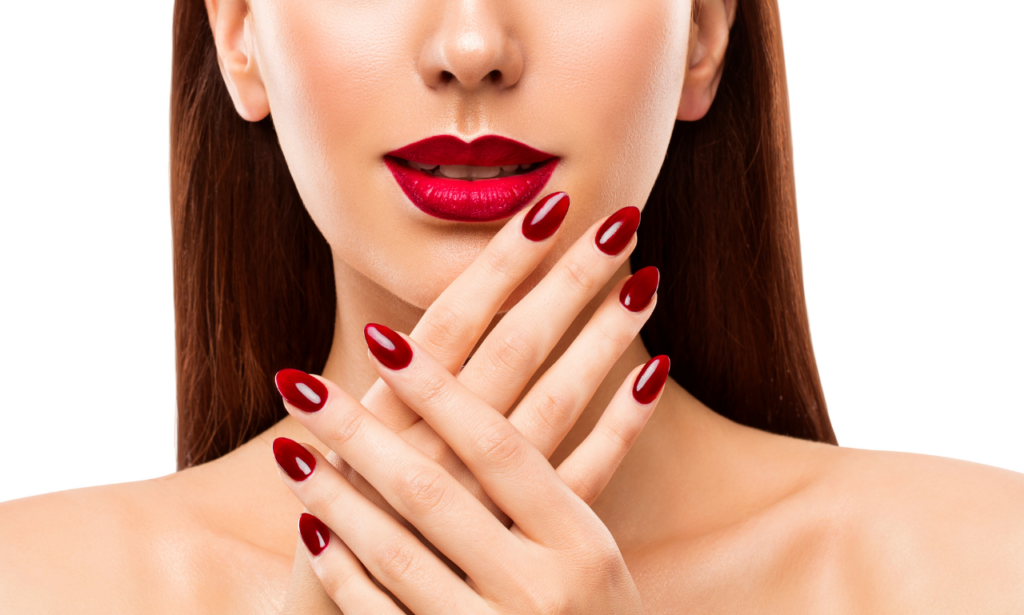
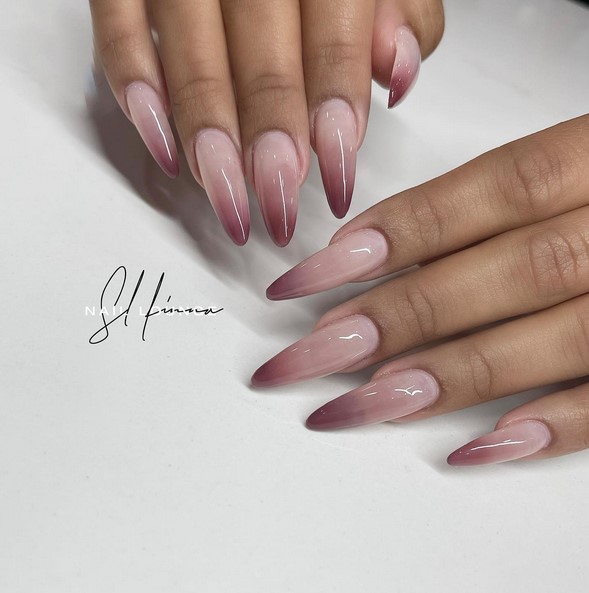
Maroon ombre nails
Maroon is a rich shade that has a mixture of brown and red. It is a color that can look good on any skin tone. Maroon is a deep shade of red or brown. It’s a color that can be worn by any skin tone.
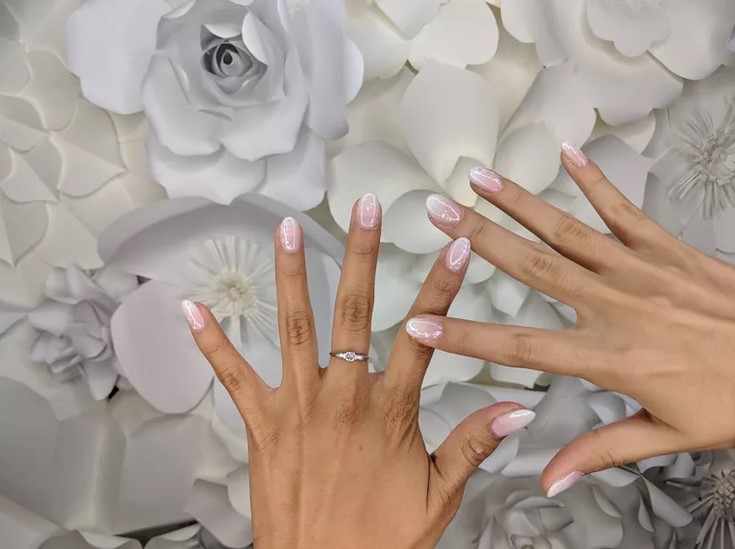
Holographic ombre nails
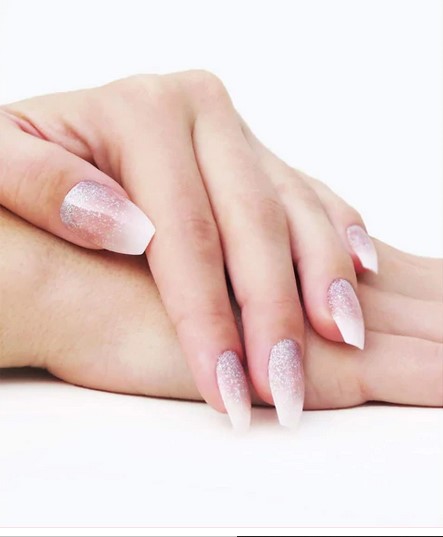
Holographic nails are a really cool way to get a nail art design that is extra eye-catching. These nails are covered with holographic glitter and have a beautiful pink-to-white ombre color.
Ombre coffin nails
Coffin nails are long nails with a sharp angle that are often used in nail design. Ombre nails look gorgeous in these nail shape as sharp angles show off the gradient that is used in the design of the nails.
Ombre Nails FAQs
What does ombre mean for nails?
Ombre is a popular technique for nails that involves gradually lightening or darkening the color of the nail from one end to the other. The word “ombre” is French for “shadow”, and the effect is meant to mimic the natural gradation of light and dark that occurs in shadows.
Ombre nails are usually created with a sponge or brush, by dabbing on different colors of polish and then blending them together. The most common ombre nails are French ombre nails, which start with a light nude color at the base of the nail and gradually get darker towards the tip.
There are endless possibilities when it comes to ombre nails, and you can use any colors you like. You can even create an ombre effect with glitter polish, by applying a heavier layer of glitter at the tip of the nail.
What type of nails are ombre?
Ombre nails are basically when your nails are graduated in color, usually from light to dark. This trend has been around for a while in the hair and makeup world, and now it’s made its way to nails!
There are a few different ways to achieve the ombre look on your nails. You can either use a sponge to gradient the colors, or you can use a few different colors of polish and blend them together with a brush. Either way, the result is a beautiful and unique nail design!
If you’re feeling really creative, you can even do an ombre design with glitter polish. Just imagine all of the different color combinations you could come up with! So if you’re looking for a fun and trendy nail design, ombre is definitely the way to go!
What are the do’s and don’t s of ombre nails?
To ensure your manicure lasts, always clean and trim your nails before applying polish. Push back your cuticles and swab each nail with polish remover to remove any traces of oil or other contaminants that might affect the adherence of your manicure.
Take a piece of tape and put it over the sponge to clean it and make sure no sponge falls out and gets stuck on your nail.
To create an ombre effect using sponges, apply each color in rows overlapping each other. It is important to overlap the rows to create a smooth ombre effect.
Waiting enough for the layers to dry completely.Use tape to clean your sponge as it will pick up the small bits of sponge that would otherwise be stamped onto your nails.
The sponge should be wet.
Always apply your top coat once your ombre is dry. If it is still bumpy you could be over sponging your nail which forms more bumps and also little pieces of the sponge could be getting onto your nail! Try only dabbing a few times with each layer.
To sum up, Ombre nails are a fun and creative way to wear polish, and they’re perfect for any occasion. Whether you’re looking for a subtle way to add some color to your nails, or you want to make a bold statement, ombre nails are the way to go!

